Miso Step by Step by Kirsten and Christopher Shockey
It's one of the integral ingredients in Japanese cuisine. This 15-step recipe teaches readers to make their own miso at home.
© Dina Avila
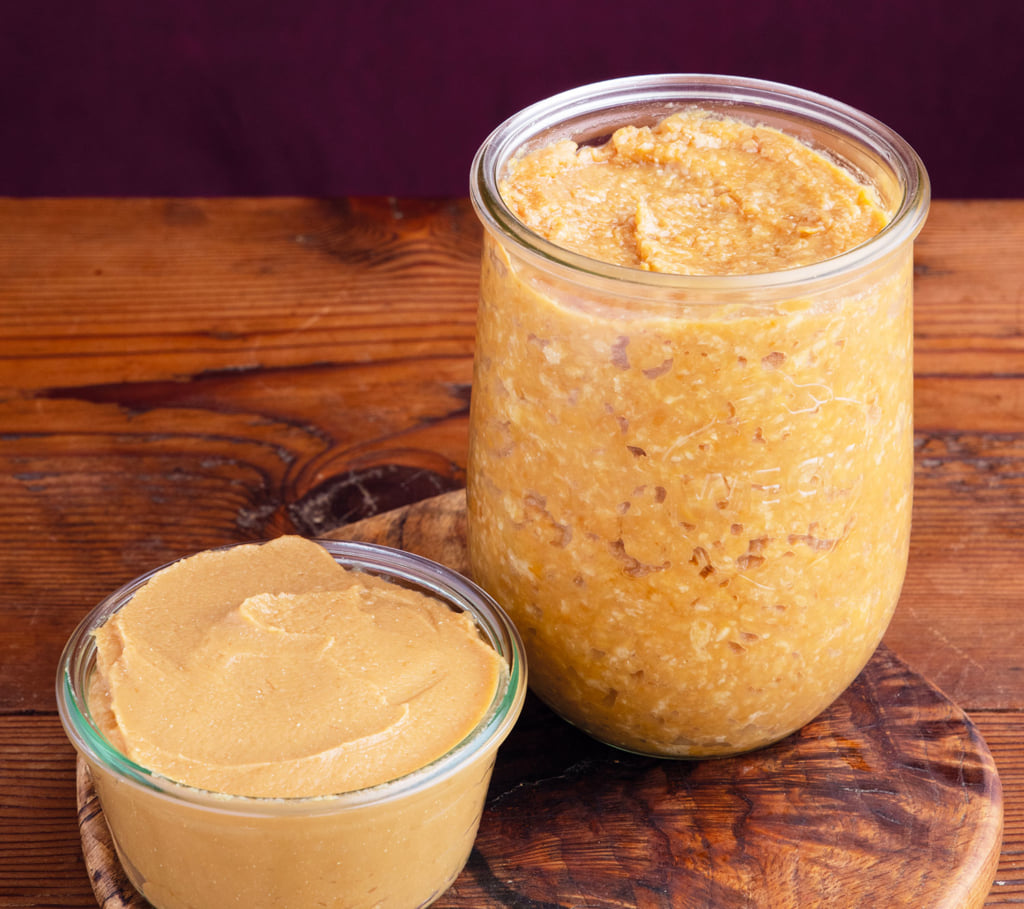
Used as a base to make broth, as a flavouring for soup, and as an ingredient in various dishes like caramelised aubergines, miso is a condiment that’s inextricably linked to Japanese cuisine.
Made from soy, rice, salt, and koji, a Japanese fermentation starter, miso can be bought ready-made from supermarkets or Japanese grocer’s shops. However, in their book Miso, Tempeh, Natto & Other Tasty Ferments, Kirsten and Christopher Shockey offer the reader step-by-step instructions to make it at home.
The recipe is not as complex as readers might imagine, the authors declare reassuringly in the introduction: ‘Some of us want to have very precise control over the ingredients, measuring them to the gram. Some of us are very comfortable with just putting it all together and letting the sound track play as it will. The beauty of miso is that the microbes will do their thing either way. This is not to say that measuring isn’t important, but rather that you have latitude to work in your comfort zone.’
Following various recipes for fermentation starters that can be used in creative concoctions such as red bean and cocoa bean miso, Miso, Tempeh, Natto & Other Tasty Ferments offers amateur cooks fifty recipes to use in savoury dishes and desserts alike, including natto polenta and chocolate miso babka.
Ingredients
Soybeans
Koji, homemade or shop-bought
Bowls of various sizes, to soak the soybeans, collect the liquid from cooking the soybeans, moisten the koji, mix the soy and koji, etc.
Large saucepan or electric pressure cooker to cook the soybeans
Colander or sieve
Metal spoons
Scales to weigh the koji and soybeans
Salt
Meat grinder or potato masher (optional)
Seed miso
Crock, jar, or other fermentation vessel
Butter knife or chopstick
Muslin
Weights
Cloth or paper cover
String or rubber band
Painter’s tape
Permanent marker
Notebook and pen
Method
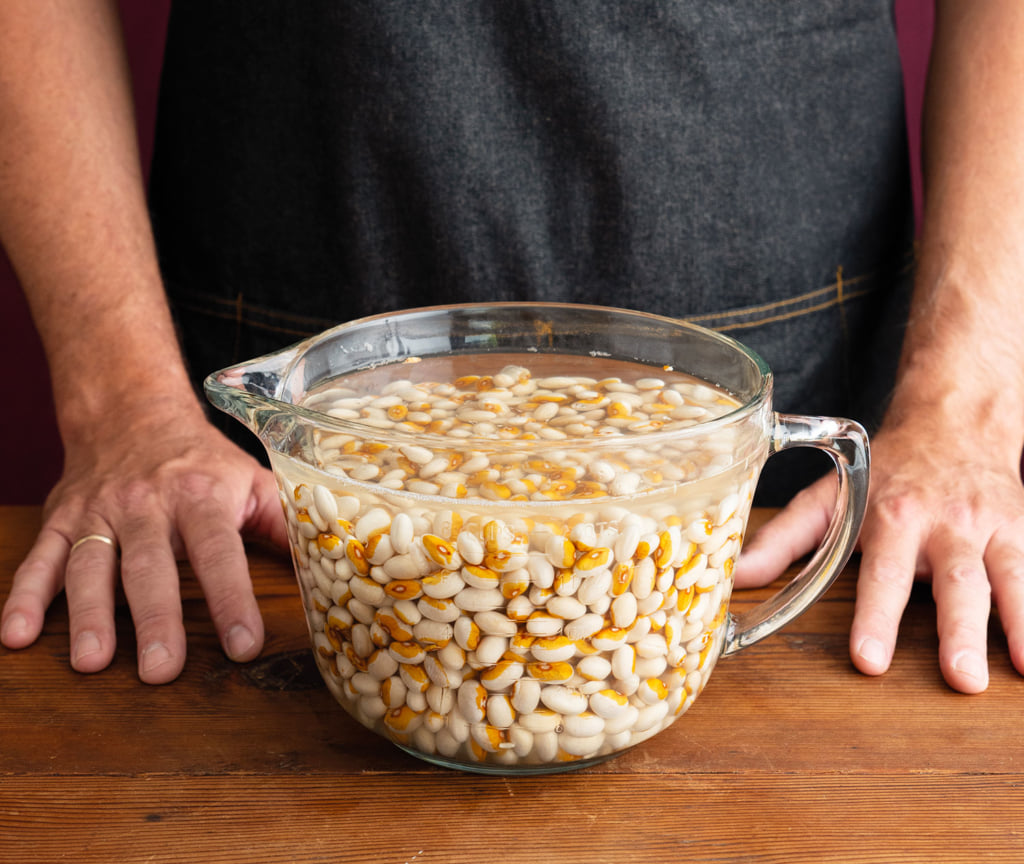
Soak the beans for eight to 24 hours.
After the beans have soaked, boil or steam them until they are soft. They should give way to pressure when squeezed between your thumb and ring finger.
Strain the beans, reserving the cooking liquid. Let the beans and their cooking liquid cool to body temperature (below 38°C), gently stirring the beans from time to time to release steam.
Place the koji in a bowl. If the koji is dry, add a small amount of the bean cooking liquid, a little bit at a time, to moisten. You want it to be well hydrated (each kernel moist all the way through) but not wet. Once it is the right consistency, weigh the koji.
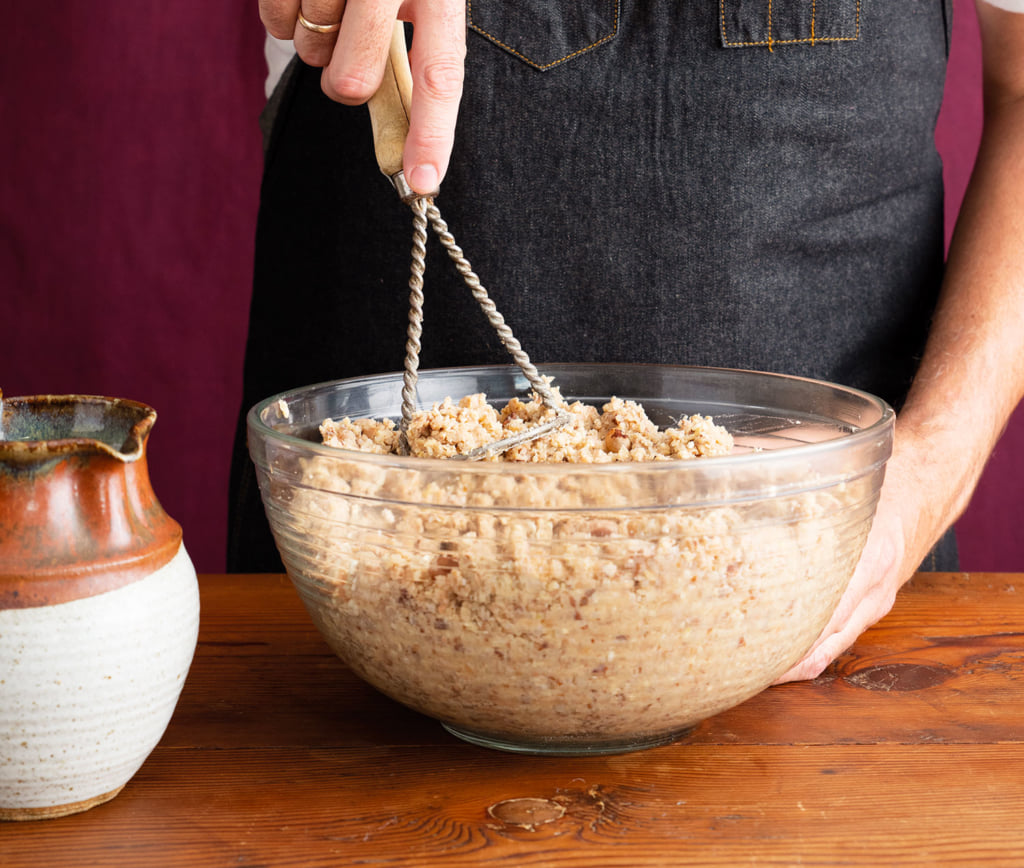
Combine the koji, beans, and salt in a bowl. Mash the mixture into a chunky paste with uniform small pieces. You can use a meat grinder, potato masher, or your hands. If the mixture gets too thick, add a little of the bean cooking liquid. Note: A doughlike consistency will give you a paste-style miso, whereas a chunky texture will give you a ‘country’ or ‘cottage’ miso. Which style you choose is up to you.
Add the seed miso and mix again until everything is evenly blended.
Prepare the fermentation vessel by rinsing the sides of the jar with a little of the bean liquid or boiled water. Pour out the excess and then sprinkle salt evenly over the inside of the vessel.
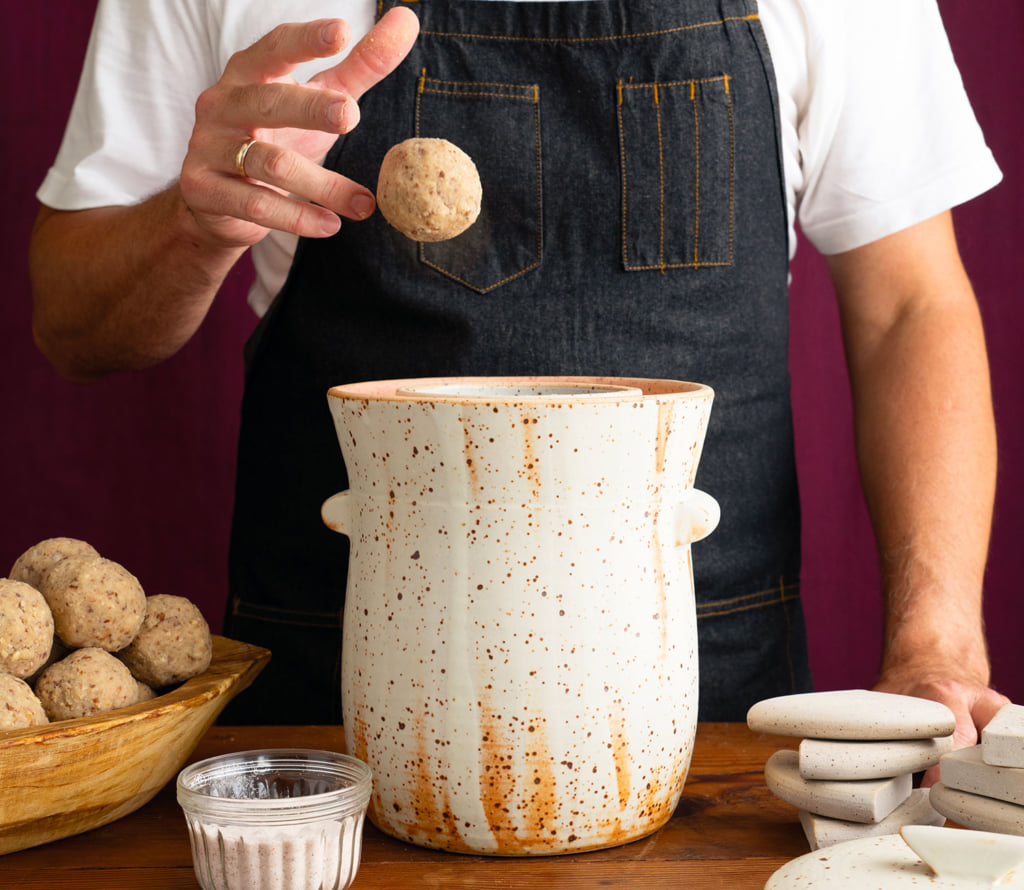
Pack the miso into the vessel, a spoonful at a time, tamping as you go to remove any air pockets. Or, form the miso into small balls and toss them firmly into the vessel to minimise air pockets.
If needed, run a butter knife or chopstick along the sides of the vessel to remove any air pockets. Smooth the surface of the paste.
Cut a piece of muslin to fit perfectly across the top of the miso. Place it on top. Sprinkle about 1/2 tablespoon of salt along the edges of this cover to seal any gaps.
Set a weight on top of your miso to press out gases. Ideally, the weight on top will equal the weight of the miso.
If your vessel has a lid, place it on top. Otherwise, set a cloth or paper cover over the fermentation vessel and secure it with string or a rubber band. Label it with painter’s tape and a permanent marker (it’s easy to forget what you made after a few months). Let sit at room temperature on your countertop for the first few weeks. This will give you a chance to make sure it’s settling properly before you move it to its more permanent home.
After a few weeks to a month, you should see liquid forming on top. If you do not see any liquid, add more weight. Once you see the liquid on top (tamari), even just a little, you are in good shape and can forget about the miso for months at a time.
After the miso has aged for a while, you will see more liquid on top. This tamari is very flavourful. You can strain off some for eating, but the rest should be mixed right back into the paste.
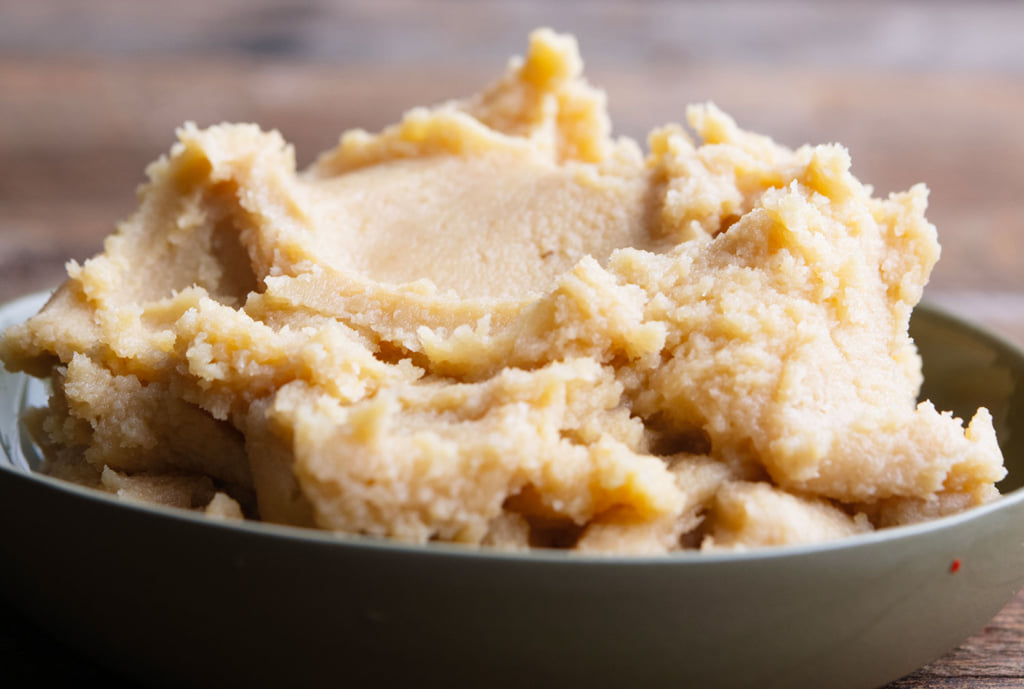
A long-aged miso can look a little like something that you’ve been warned against. It’s okay. Keep going; your miso will be beautiful underneath. When your miso is ready, you’ll remove the layers on top that have been exposed to oxygen. You will know when you reach the good miso, because it will no longer be discoloured and will look and smell as it should.
Finished miso can be eaten as is, or you can run it through a food grinder, mill, or processor if you want a smoother paste. Commercial miso is often heat-treated to halt the fermentation, which renders the magic of the enzymes non-existent.
There is no need to pasteurise your miso. Simply store it in the refrigerator, where it will be stable for years.
Miso, Tempeh, Natto & Other Tasty Ferments (2019), a recipe book by Kirsten and Christopher Shockey, is published by Storey.
Kirsten and Christopher Shockey run a farm in the heart of the Applegate Valley in Southern Oregon in the United States, where they grow over forty varieties of vegetables and herbs. The couple also specialise in fermentation, and run classes and workshops on their farm to teach others about this technique. They have written other books about fermentation, like Fermented Vegetables.
© Dina Avila
© Dina Avila
© Dina Avila
© Dina Avila

© Dina Avila
TRENDING
-
A House from the Taisho Era Reveals Its Secrets
While visiting an abandoned building, Hamish Campbell discovered photographs the owner had taken of the place in the 1920s.

-
The Taboo-Breaking Erotica of Toshio Saeki
The master of the 1970s Japanese avant-garde reimagined his most iconic artworks for a limited box set with silkscreen artist Fumie Taniyama.

-
With Meisa Fujishiro, Tokyo's Nudes Stand Tall
In the series 'Sketches of Tokyo', the photographer revisits the genre by bringing it face to face with the capital's architecture.

-
Masahisa Fukase's Family Portraits
In his series ‘Family’, the photographer compiles surprising photos in which he questions death, the inescapable.

-
Hajime Sorayama's Futuristic Eroticism
The illustrator is the pioneer for a form of hyperrealism that combines sensuality and technology and depicts sexualised robots.


